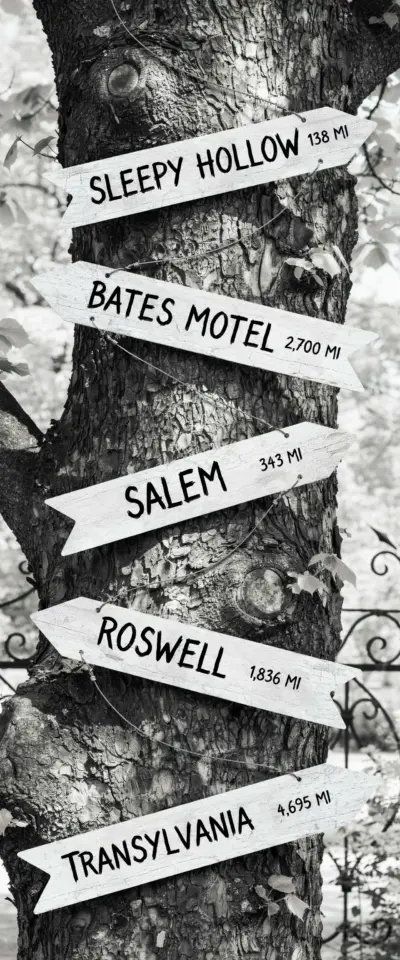
Halloween decorations often feel like a race to spend the most money on inflatables or animatronics. But the best trick for drawing trick-or-treaters down your driveway costs almost nothing and looks like it belongs in a horror movie. A spooky sign post hanging from a tree, pointing to places like Amityville, Elm Street, and Frankenstein’s Castle, turns your yard into a mini haunted attraction. It is a simple DIY project that even works on a tight budget. I made mine last October from scrap wood and a pack of stencils, and neighbors still ask how long I spent building it. The secret is that you do not need a workshop or expensive tools. You just need a few hours, some basic supplies, and a little patience.
Why a homemade sign post works better than plastic props
Store-bought Halloween decorations often look identical from one house to the next. A handmade sign post feels personal and unexpected. It invites people to stop and read the destinations, which makes your yard feel like a real haunted route. Plus, hanging it from a tree keeps it off the ground, so it stays visible even if your lawn is wet or muddy. The creepiest yards are the ones that tell a story. Every direction points somewhere spooky, and each name sparks curiosity. You can change the signs every year without buying a whole new set. That is budget-friendly and creative at the same time.
I have seen people spend fifty dollars on a single plastic tombstone. A sign post uses wood scraps that cost nothing, paint left over from other projects, and rope that costs a couple of bucks at the hardware store. If you do not have scrap wood, check a construction site dumpster (ask first) or look for free pallets behind grocery stores. The rough, weathered look of reclaimed wood actually makes the sign more believable.
Materials you need for a DIY spooky sign post on a budget
Gather these items before you start. Most are things you already own or can get cheaply. My total cost for this project was under eight dollars because I used leftover paint and twine.
- Wood for signs: Old fence boards, pallet slats, or a 1×6 board from a hardware store (under $5). Cut into 6 to 10 inch lengths.
- A hanging post or branch: A sturdy tree branch about 2 feet long works perfectly. Or use a 1×2 piece of wood.
- Paint or stain: Black, dark brown, or dark green for the background. White or cream for the lettering. Sample sizes from the paint store are often free or under $3.
- Pencil and stencils: Printable letter stencils from the internet, or a cheap stencil set from a craft store. You can also freehand if your handwriting is bold.
- Rope or twine: Natural jute rope (about 3 feet) to hang the post from a tree branch. A pack of twine costs $2.
- Drill or awl: To make holes for the rope. A hand awl works if you do not own a drill.
- Sandpaper: A medium grit to rough up the edges. No need to sand smooth.
That is really it. If you want extra spookiness, add a small chain, some fake moss, or a tiny battery-operated lantern. But the basic version already looks fantastic.
Choosing the right spooky destinations: Amityville, Elm Street, and beyond
The destinations make the sign. Stick with well-known horror movie locations so visitors instantly recognize them. Amityville (the house from The Amityville Horror), Elm Street (Freddy Krueger’s street), and Frankenstein’s Castle are perfect because they cover different genres of scary. You can also add Camp Crystal Lake (Friday the 13th), Transylvania, or Haddonfield (Halloween). Keep the names short so they fit on small signs. Three to five destinations is ideal. Too many signs look cluttered.
I used a mix of fictional and real places. Amityville is a real town in New York, but most people associate it with the ghost story. Elm Street is a fictional street from A Nightmare on Elm Street. Frankenstein’s Castle is from
#SpookySignPost #HalloweenYardDecor #DIYHalloween #TrickOrTreatDecor #OutdoorHalloween