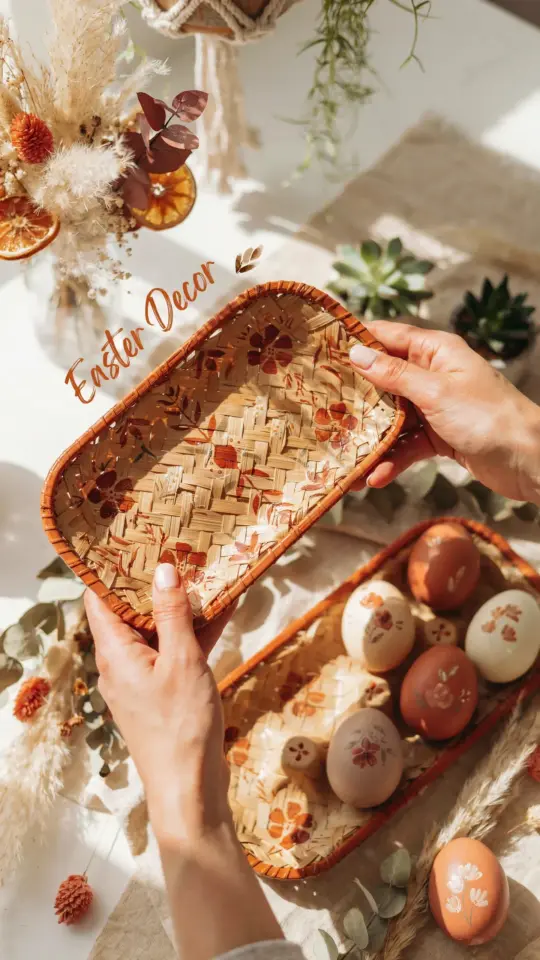
If you’ve been searching for a simple, budget friendly way to dress up your Easter table, this air dry clay egg holder project is exactly what you need. I stumbled on this idea while trying to avoid buying expensive holiday decor, and honestly, it turned out so well that I now make a few every spring. The best part? You only need a few basic supplies, some acrylic paint, and a little UV resin to give it that glossy, store bought look. Today I’m sharing a curated roundup of different themes you can try, so you can pick the style that fits your home.
Minimalist Modern Egg Holder for a Clean Look
If your decor leans toward neutral colors and simple lines, this theme is for you. Start with a small slab of air dry clay, roll it into a smooth oval, then press a shallow indent in the center using the bottom of a small bowl or your thumb. Keep the edges soft and organic. After it dries (usually 24 to 48 hours), sand any rough spots with fine grit sandpaper.
For the finish, use a matte white or soft gray acrylic paint. I like to apply two thin coats, letting each dry completely. Once the paint is dry, seal it with a clear UV resin. The resin adds a subtle shine without screaming “glossy.” This style works perfectly with fresh flowers or painted wooden eggs. It’s understated, elegant, and fits right into a modern farmhouse table setup.
Rustic Farmhouse Egg Holder with Textured Clay
For a more earthy, handmade feel, try a textured finish. Before shaping your clay, press a linen cloth or a piece of burlap into the surface to create a subtle fabric imprint. You can also use a toothpick to draw simple lines or crosshatch patterns. Let the clay dry fully, then paint it with a chalky, matte sage green or warm cream.
I personally love using a dark wax over the paint to bring out the texture, but you can also skip painting altogether and just seal the natural clay with a matte varnish. The UV resin option works here too, but only on the top surface if you want a contrast between matte clay and glossy spots. This rustic holder looks great with speckled brown or blue eggs.
- Tip: For the indentation, use an actual egg wrapped in plastic wrap to press the shape, then remove it before the clay hardens.
- Tip: Add a small coil of clay as a base ring to raise the holder slightly off the table.
Spring Floral Accent Egg Holder Using Embedded Flowers
This is my favorite twist because it adds a pop of color without any painting skills. After rolling out your clay slab, press small dried flowers or fresh petals into the surface. I use tiny pansies, lavender buds, or chamomile. Gently roll over them with a rolling pin to embed them slightly. Trim any excess clay around the edges and shape the holder as usual.
Once dry, the flowers will look like they are frozen in time. For this design, a clear UV resin coat is almost mandatory because it protects the delicate petals and makes them pop. Apply two thin layers, curing each with a UV lamp. The result is a translucent, delicate holder that screams spring. Pair it with pastel colored eggs or even real flowers placed in the indent.
Hand Painted Pattern Egg Holder for Creative Fun
If you enjoy painting details, this theme lets you go wild. Shape your basic egg holder from air dry clay and let it dry. Then, instead of a solid color, paint a pattern. I like simple polka dots, wavy lines, or tiny flowers. Use a fine brush and acrylic paint in Easter shades like lavender, butter yellow, and mint.
You can also try a negative space design: paint the entire holder one color, then use a small stencil or washi tape to add a second color. Let each layer dry before removing the tape. After the paint is fully set, seal with UV resin. The resin gives the painted patterns a depth that regular varnish can’t match. This theme is perfect for kids or anyone who wants a playful, personalized look.
Resin Gloss Finish Tips for a Professional Look
Getting that glossy, professional finish is easier than you think. After your clay is painted and fully dry, mix a small amount of UV resin (I use a gel type for nails or crafts) and apply a thin even layer with a silicone brush. Cure it under a UV lamp for 60 to 90 seconds. Repeat for a second coat if you want extra shine.
Here are some practical things I’ve learned the hard way: work in a well ventilated area, and keep a toothpick handy to pop any air bubbles that appear. If your holder has a deep indent, make sure the resin flows evenly inside. You can also use a torch lighter to pop bubbles on the surface. The resin not only makes the holder look polished but also protects
#EasterDecor #DIYClay #EggHolder #HolidayCrafts #SpringDIY